Frog Legs Drawing
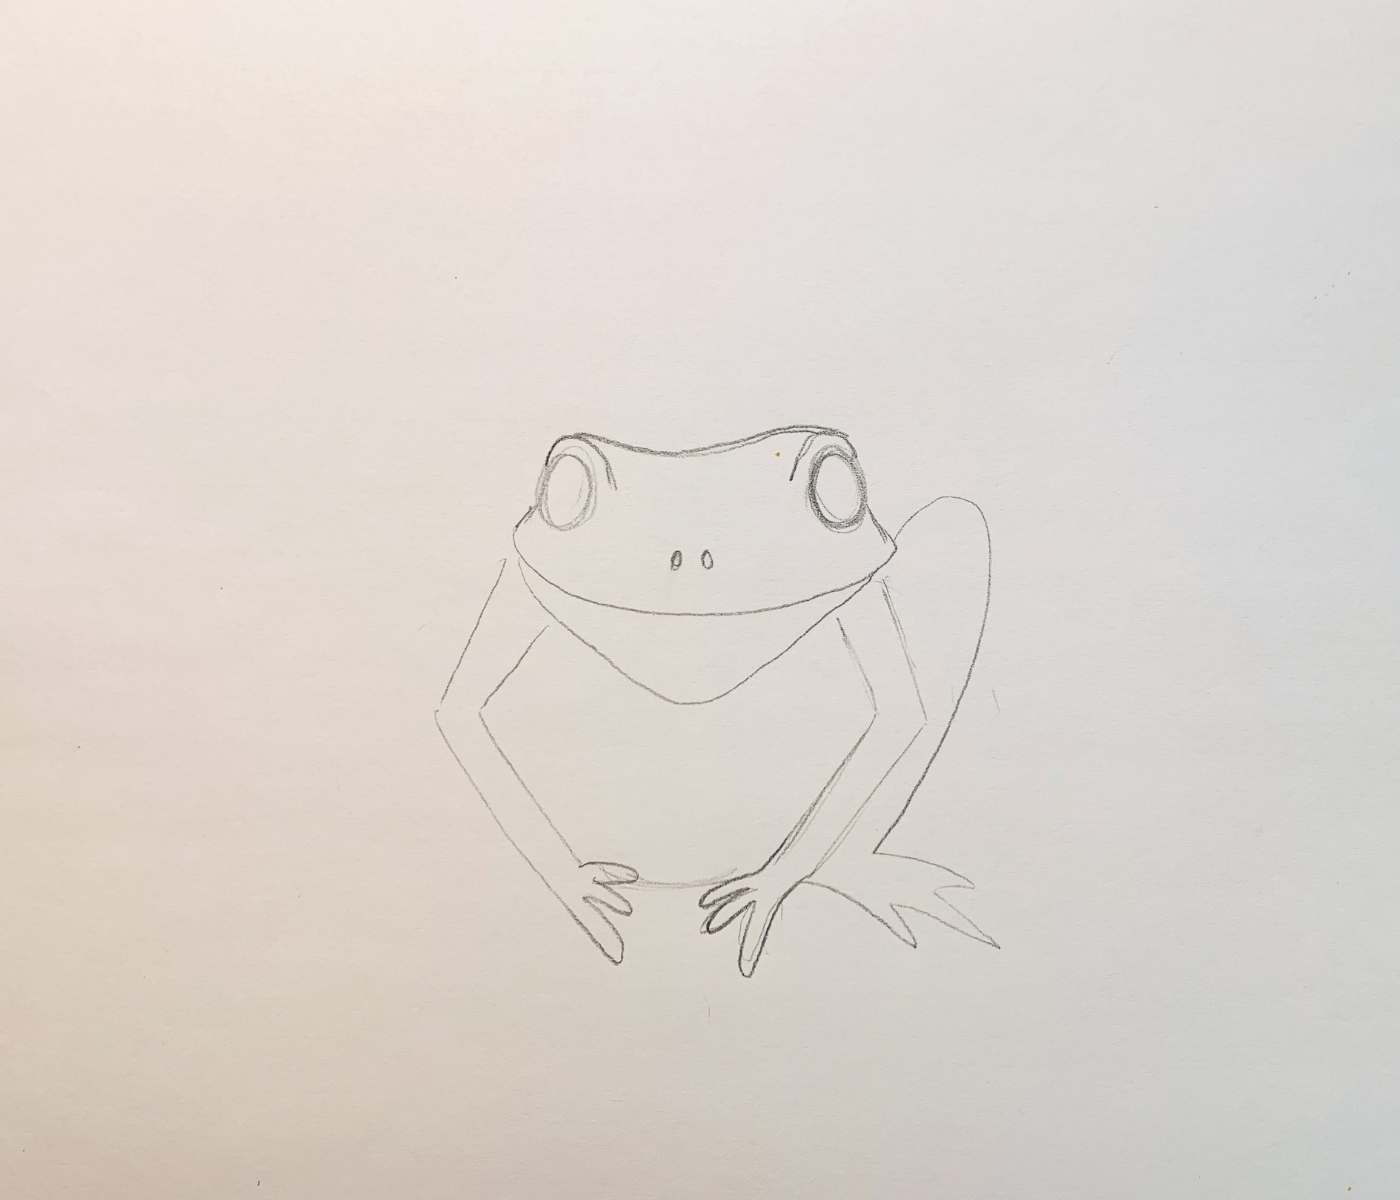
Frog Legs Drawing - Add the feet and erase the intersecting lines from the original potato shape. Start with an oval for the body, add two large circles for the eyes, and then create the limbs with basic shapes. Don’t forget to mark the eye positions. Next, draw hind legs on the bottom left of your shape and front legs on the bottom middle. Here is a collection of easy frog drawing ideas to try next in your sketchbook or doodling page. Web legs are some of the most unique features of frogs! Web you will learn the basics for drawing frog legs. Web draw the frog's front legs. Let’s add some legs to the body next. This will be the frog’s mouth. Draw a smaller oval and attach it to a bigger one. Draw a curve inside the eye to create an eyelid. Let’s draw the two front legs now. Sketch the frog's rear legs. Then, draw a curved line between the forelegs to. If you find it challenging, start with a rhombus and add curves to shape the amphibian’s body. Adding details and texture gives life to the drawing. Indicate the frog’s hind legs and belly to ensure your frog looks just right. Here is a collection of easy frog drawing ideas to try next in your sketchbook or doodling page. Then, add 2 small circles to the upper right side for eye bumps. Web you will learn the basics for drawing frog legs. If you find it challenging, start with a rhombus and add curves to shape the amphibian’s body. Use overlapping u shaped lines to enclose four toes on each foot. A frog is a small amphibian known for its smooth, moist skin, webbed feet, and long hind legs adapted for jumping.. Web use circles to position the frog’s legs. Continue adding circles to define the position of the frog’s legs. Indicate the frog’s hind legs and belly to ensure your frog looks just right. Don’t forget to mark the eye positions. Web let’s draw a cartoon frog! In this drawing lesson we'll show you how to draw a realistic frog in 7 easy steps. Web with this guide, you can surely draw and color a frog along with its complex features and elaborate details in no time. And the most fun part is, you can customize its physical attributes and play with various colors as much as. Use overlapping u shaped lines to enclose four toes on each foot. Adding details and texture gives life to the drawing. If you are more skilled you can add the finger details as shown on the picture, while younger kids and absolute beginners can just draw a straight line (making the legs more of a triangle shape). Draw a curve. Add the feet and erase the intersecting lines from the original potato shape. Web to draw a frog, first draw an elongated shape with a pointy lower left side. The drawing frog step by step tutorial involves sketching an oval body shape, adding large eyes near the top, and connecting them with a curved line for the mouth. This free. This lesson only takes about 20 minutes and has a pdf near the bottom of the lesson you can easily print or download. Adding details and texture gives life to the drawing. Indicate the frog’s hind legs and belly to ensure your frog looks just right. Start by drawing an oval for the frog’s body using a light pencil stroke.. Web how to draw frog step by step guide. Web 23 easy frog drawing ideas. Sketch the frog's rear legs. Use overlapping u shaped lines to enclose four toes on each foot. This should be bigger than your regular ovals, as this will make up the majority of your frog drawing. This free step by step lesson progressively builds upon each. Draw a curve inside the eye to create an eyelid. This will be the frog’s mouth. Connect the head with the body (top part) Next, draw hind legs on the bottom left of your shape and front legs on the bottom middle. Each leg is going to be made of two curves. Web use circles to position the frog’s legs. Adding details and texture gives life to the drawing. Don’t forget to mark the eye positions. Draw a curve inside the eye to create an eyelid. Web frog drawings involve the use of ovals for body and head, rectangles for legs, and small circles for the eyes, toes, and other minor details. This tutorial will descriptively guide you through each step in the process of drawing a frog, with all its twists and turns. The back feet can go slightly below the horizontal line from previous. Start by drawing an oval for the frog’s body using a light pencil stroke. A lot of frogs can leap up to 20 times their body height thanks to their legs. Web embrace the beauty of geometry with this frog drawing. This method is great for understanding the basic anatomy and proportions of the frog in a stylized and abstract form. Web you will learn the basics for drawing frog legs. Sketch the frog's rear legs. Then, add 2 small circles to the upper right side for eye bumps. This free step by step lesson progressively builds upon each. Web this cute frog is dancing! Start with an oval for the body, add two large circles for the eyes, and then create the limbs with basic shapes. This will be the frog’s mouth. Draw a curve inside the eye to create an eyelid. Web to draw a frog, first draw an elongated shape with a pointy lower left side. Continue adding circles to define the position of the frog’s legs. Web this tutorial will break down how to draw a frog into 12 easy steps. There are many different types of frogs and this is a basic tutorial that can be adjusted in many ways.
frog legs r/drawing

How to Draw a Frog Stage by Stage Drawing Instructions Mobitool
Frog Drawing Reference and Sketches for Artists

Frog Legs Mmmm... by BooterFreak on DeviantArt

How to Draw Frog Legs HelloArtsy

Famous Frog Leg Anatomy 2022 PeepsBurgh
How to Draw a Frog With Face, Legs & Body

Frog Legs Drawing

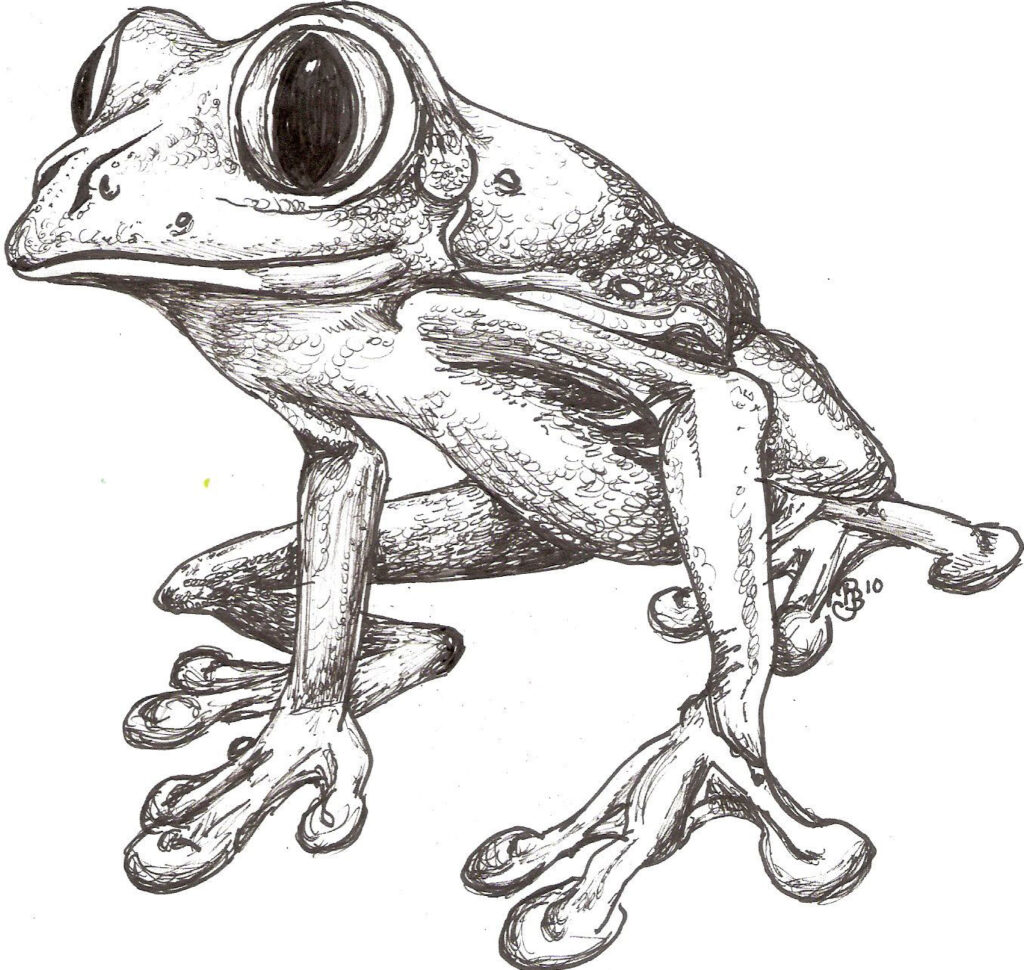
Realistic Frog Drawing

How to Draw Frog Legs HelloArtsy
Each Leg Is Going To Be Made Of Two Curves.
We’ll Add More Circles To Highlight Where The Legs End And Mark The Position Of The Webbed Feet:
Adding Details And Texture Gives Life To The Drawing.
This Tutorial Will Descriptively Guide You Through Each Step In The Process Of Drawing A Frog, With All Its Twists And Turns.
Related Post: